
Now, we are definitely not people to look a gift horse in the mouth. However, when this horse is your only toilet, and it appears to have "issues" with its main function (i.e. flushing -- apologies for any nasty mental images this is conjouring up so far), that's when there is a problem. On a beautiful Sunday at approximately 6 pm, the decision was made -- we needed a new toilet, and STAT.
Off to Lowes we go, only to find that the Kohler Memoirs High-Performance toilet that we (Steph) ABSOLUTELY NEED is not in stock. With just 20 minutes remaining until the nearest store with it in stock closes and about 10 miles to travel on NJ roads -- which are known to be treacherously slow on Sundays -- we rush off, risking life and limb with just one thought in mind: "power flush technology."
We arrive with 1 minute to spare and run into the store, greeted by the angry looks of employees who loathe people like us. We make a beeline to the "Fashion Bath" section, and are greeted by the most wonderful site… a plethora of porcelain, all ours for the taking. We race through the store as gracefully as two people who are pushing a squeaky cart with a toilet on it can muster, use the self-pay option at checkout, and off we go with smiles on our faces.
It was at this point we decided that we needed to be the masters of our restroom destiny -- we decided to install this toilet ourselves. Alone. On a Sunday night at 9 pm. Armed with my newfound plumbing prowess, some borrowed tools, and a blog post from Young House Love (http://www.younghouselove.com/2012/02/loo-re-do-on-my-to-do/), we were ready to begin.
Step number one was to turn off the water. Now this might have been the scariest thing I have ever done -- all I was thinking about was a flooded bathroom and ripping up another round of tile floors -- but alas, all went according to plan.

After a couple flushes, most of the water was out of the toilet. With a cup in hand, we scooped out the remaining water from the bowl and the back.
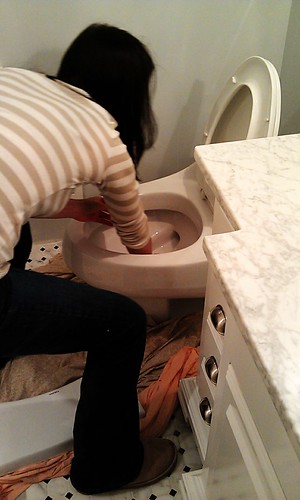
We used a sponge to get up the rest of the water, and were left with a nice dry toilet that was ready to be removed.
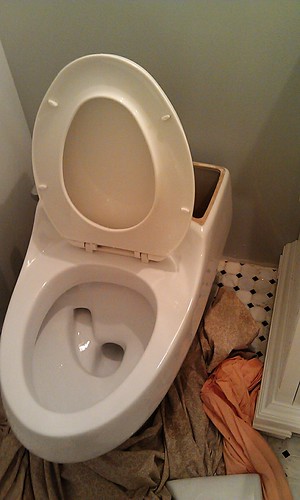
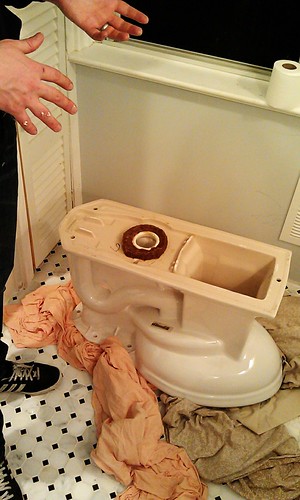
We had to take the two screws off the base of the toilet, rock it slowly to break the line of caulk, and then carefully lift it up and out of the bathroom and onto our porch (where it still sits today. Our neighbors must love us by now). We were left with a very gross ring of wax around the flange...
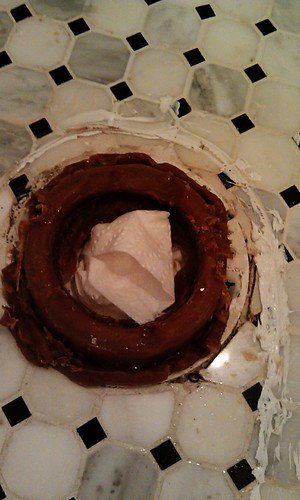
...and a line of caulk that I had to scrape off. Lucky me…
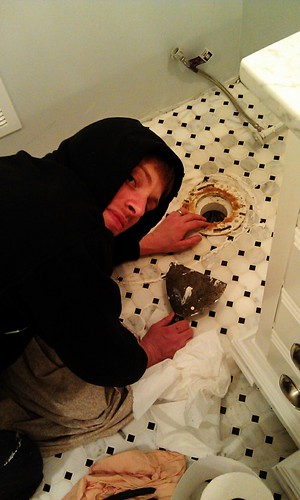

Next, we had to attach the new wax ring onto the new toilet, making sure that it is tight around the hole.
We had to carefully place the new throne on the screws attached to the flange. To make sure that the wax ring has a nice firm seal, we had to take a seat (and a nice photo op?) and squeeze everything down nice and tight. How cute…

Now in reverse! Perfect time to catch up on reading material.

The final step was to attach the screws to the base and to attach the tank onto the top. Steph's tiny, flexible arms were perfect for this!

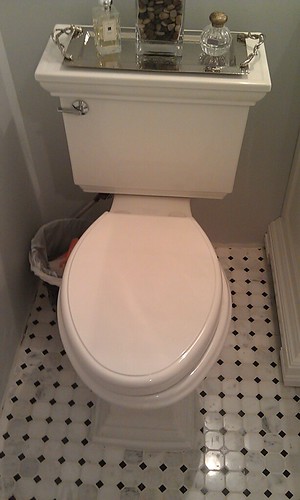
After the final hookup, we gingerly turned the water on without any issues. There were no leaks so we caulked around the base, flushed often with glee, and patted ourselves on the backs for a job well done!
Ta-Daaaaa! What a beautiful sight to behold…
No comments:
Post a Comment